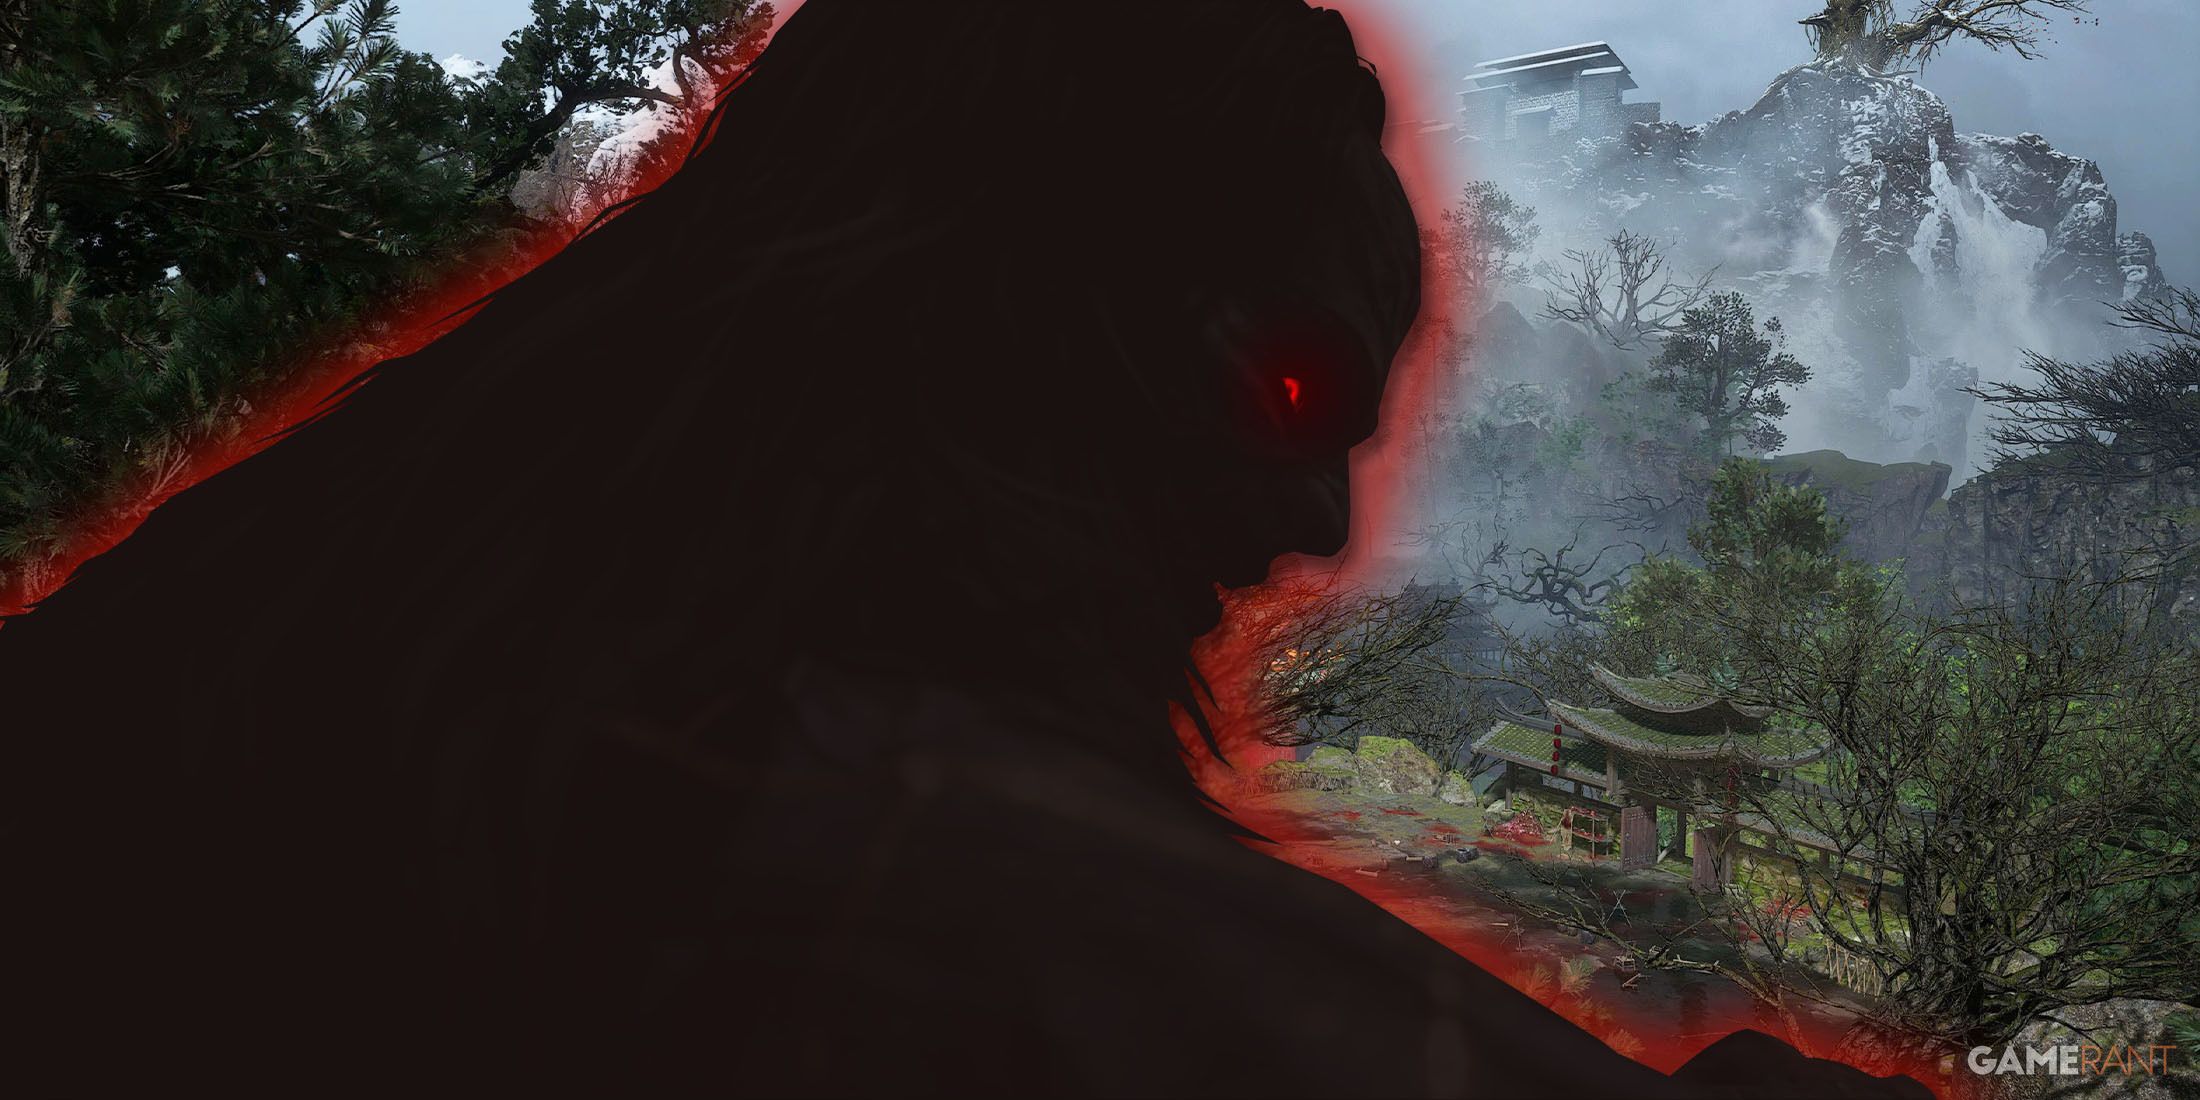
In the realm of Wuchang: Fallen Feathers, players can expect intense encounters with formidable bosses that test their combat tactics and adaptability. Worship’s Rise features six distinct bosses, each offering the potential for trophies or achievements upon defeat. Among these, five are essential for progressing through the main storyline, serving as gatekeepers to the game’s second major area. This guide provides detailed locations for all the bosses found in Worship’s Rise in Wuchang: Fallen Feathers.
Warning: The following guide contains significant boss-related spoilers.
Locations of All Worship’s Rise Bosses in Wuchang: Fallen Feathers
Master Raider – Man-eating Dhutanga
The first boss can be encountered relatively early in the game. From the Reverant Temple Shrine, descend the stairs and turn right, passing two foes by the gate. Continue right after the gate and follow the path, staying to the right until you reach a scaffolded area and climb to the top.
Once at the top, you will locate the second Shrine of the area, known as Buddha Cliffs. After resting at the Shrine, descend the ladder and enter the cave. Here you will face the first mini-boss, Tang Palace Maid. Defeat her, then proceed up the stairs and take a right immediately after exiting the cave. Continue straight on until you find a fork; the right path leads to several enemies and the Entwined Legend Pendant, while the left path takes you to the boss.
Follow this path straight to discover the third Shrine, Lightzen Temple. This is your last chance to prepare before facing the first boss, so make sure to gear up and level your character appropriately. From the Shrine, ascend the stairs, ignoring the foes in the courtyard, and continue onward until you reach a gate that triggers the confrontation with Master Raider – Man-eating Dhutana.
Feathered Priest – Lu Bingzhang
After vanquishing the first boss, return to the Shrine and take the opposite route to unlock a new door with the Lightzen Key. Veer right and follow the path to Narrow Stretch, where a flight of stairs will be on your left, and a path to the right leads to a Panda merchant who trades items for Bamboo Shoots.
Ascend the stairs on the left and keep to the left until you encounter an empowered armored enemy. Defeating this foe drops Ming Armor, which is beneficial early on, although if your health is low, it may be wiser to bypass him. Near the Shu Sanctum, you will find the next Shrine along with various NPCs, marking it as a significant location.
From the Shrine, continue up another staircase that leads to the top floor. Here, you will find a door leading into the boss chamber of Feathered Priest – Lu Bingzhang.
Equip the Purple Camellia in your Hotbar, as the boss has several attacks that can cause Corruption build-up.
Gluttonous Monstrosity – Lu Hongliu
Return to the Shu Sanctum Shrine, then backtrack to where you defeated the empowered enemy for the Ming Armor. Go right–despite appearances, you can safely cross the gap. Continue down the steps ahead, where the path diverges into three directions. Take the right path, which has stairs going up and two dogs in sight. Go up, navigate through the building, and turn right while evading a rolling boulder.
After dispatching the enemy responsible for the boulder, look right for a way to climb to the rooftop that has a ladder. Ascend, bypass enemies, and drop down the next ladder on the other side. Defeat the Fire Dancer there, then take either side path to ascend and follow a blood trail up the stairs.
Before activating the boss fight, check the right side of the stairs for a path leading to a tree. Knock it down to create a shortcut back to the first floor of Shu Sanctum, where you can rest at the Shrine and acquire skills before confronting Gluttonous Monstrosity – Lu Hongliu.
Blightweaver – Giant Centipede
At the Shu Sanctum Shrine, interact with the mechanism in front of you that needs the Shu Sanctum Key, leading you underground towards the Mercury Workshop. Follow the path downward through the corruption passage until you reach a Shrine on your right. Venture down the fleshy route beside the Shrine and navigate past two foes firing at you with rifles. Descend the wooden planks, moving right, then left to come across a ladder leading up.
Drop into a small room with a fortified foe and handle him before proceeding. Be cautious of enemies on either side as you exit, who might attempt to ambush you. While you can find paths on both sides, it is advisable to bypass them and go down the ladder to reach an elevator that leads up to the Shrine. From the elevator, proceed straight ahead, turning right to find two enemies near the fleshy path. Continue going straight until you reach another ladder leading down.
Deal with the enemy nearby the ladder, and then cross over to find another ladder that leads to a second elevator. Go right and proceed straight until you notice a left path opening up to a chest with items. Move through either side to reach a stone path filled with multiple loot, but stay cautious for enemies that will engage you from the front.
Head right, then shift left to traverse the wooden walkway leading to the Bandit Cave and your next Shrine. From this Shrine, turn around and proceed right to follow the path down to the boss arena for Blightweaver – Giant Centipede.
Reborn Treant – Soulwood
Upon defeating the boss, look left for an exit and ride the elevator up inside the Tower of Sacrifice to access a door that requires opening. Shortly thereafter, you will encounter He Youzai, who speaks of a lost package. Return it to receive the Pirate Armor set. Head right to discover the only Shrine in Doomwillow Beach. From here, you will have three paths to choose from, except the one you arrived on. Take the far-left path, which is filled with skeletons and grotesque four-legged creatures.
Proceed along this path until you reach a blood river, then turn left and continue straight until you spot a slope beside some flames. Ascend and quickly veer left, bypassing the tree, and head towards a distant ladder. Climb up and turn right to find a Corpse Tree to attack, leading you to an NPC next to another tree.
A path here leads downward; taking the left at the end will reveal a large chest containing a Forgotten Remembrance.
Next, follow the right path down. You will arrive at the Corpse Pits, where you can face one of the easiest bosses Reborn Treant – Soulwood.
Commander – Honglan
After defeating this boss, interact with the Shrine and ascend the nearby path to Palace Pass. Climb the stairs and turn left to cross a wooden bridge. Continue along the linear path, ascend the ladder, and move forward to enter the Tang Emperor Palace. Evade the Tripwire mine near the entrance, head inside, climb the stairs, and turn left at the set of bridges. Approach the house, then turn right where you’ll discover a pathway leading up to a temple and a ladder going down toward a shielded enemy.
Open the large red door in front of you to unlock access to the Shu Sanctum Shrine. Proceed left, up the stairs, and take the wooden ramp toward the torch-wielding foe surrounded by Tripwire mines. Follow the straight path to encounter a moderately challenging enemy near the stairs that descend to the first Mysterious Gate.
From there, move left adjacent to the gate and continue straight until you reach a temple with an open door. Inside, you can once again battle the Tang Palace Maid and loot a large chest filled with Lost Remains. After exiting, go straight and turn left to locate a ladder. Take the right trail to reach the Palace Hill Shrine. You have passed the boss arena of this area, but it won’t start until you find the Buddha Statue. Descend from the Shrine and utilize the statue to the left, next to the NPC in white.
This action will lower the water level within the courtyard. Climb down the ladder, turn right, and proceed to the area opposite the temple where you faced the Tang Palace Maid. At this spot, there is a drop-off that leads to the boss duel against Commander – Honglan.