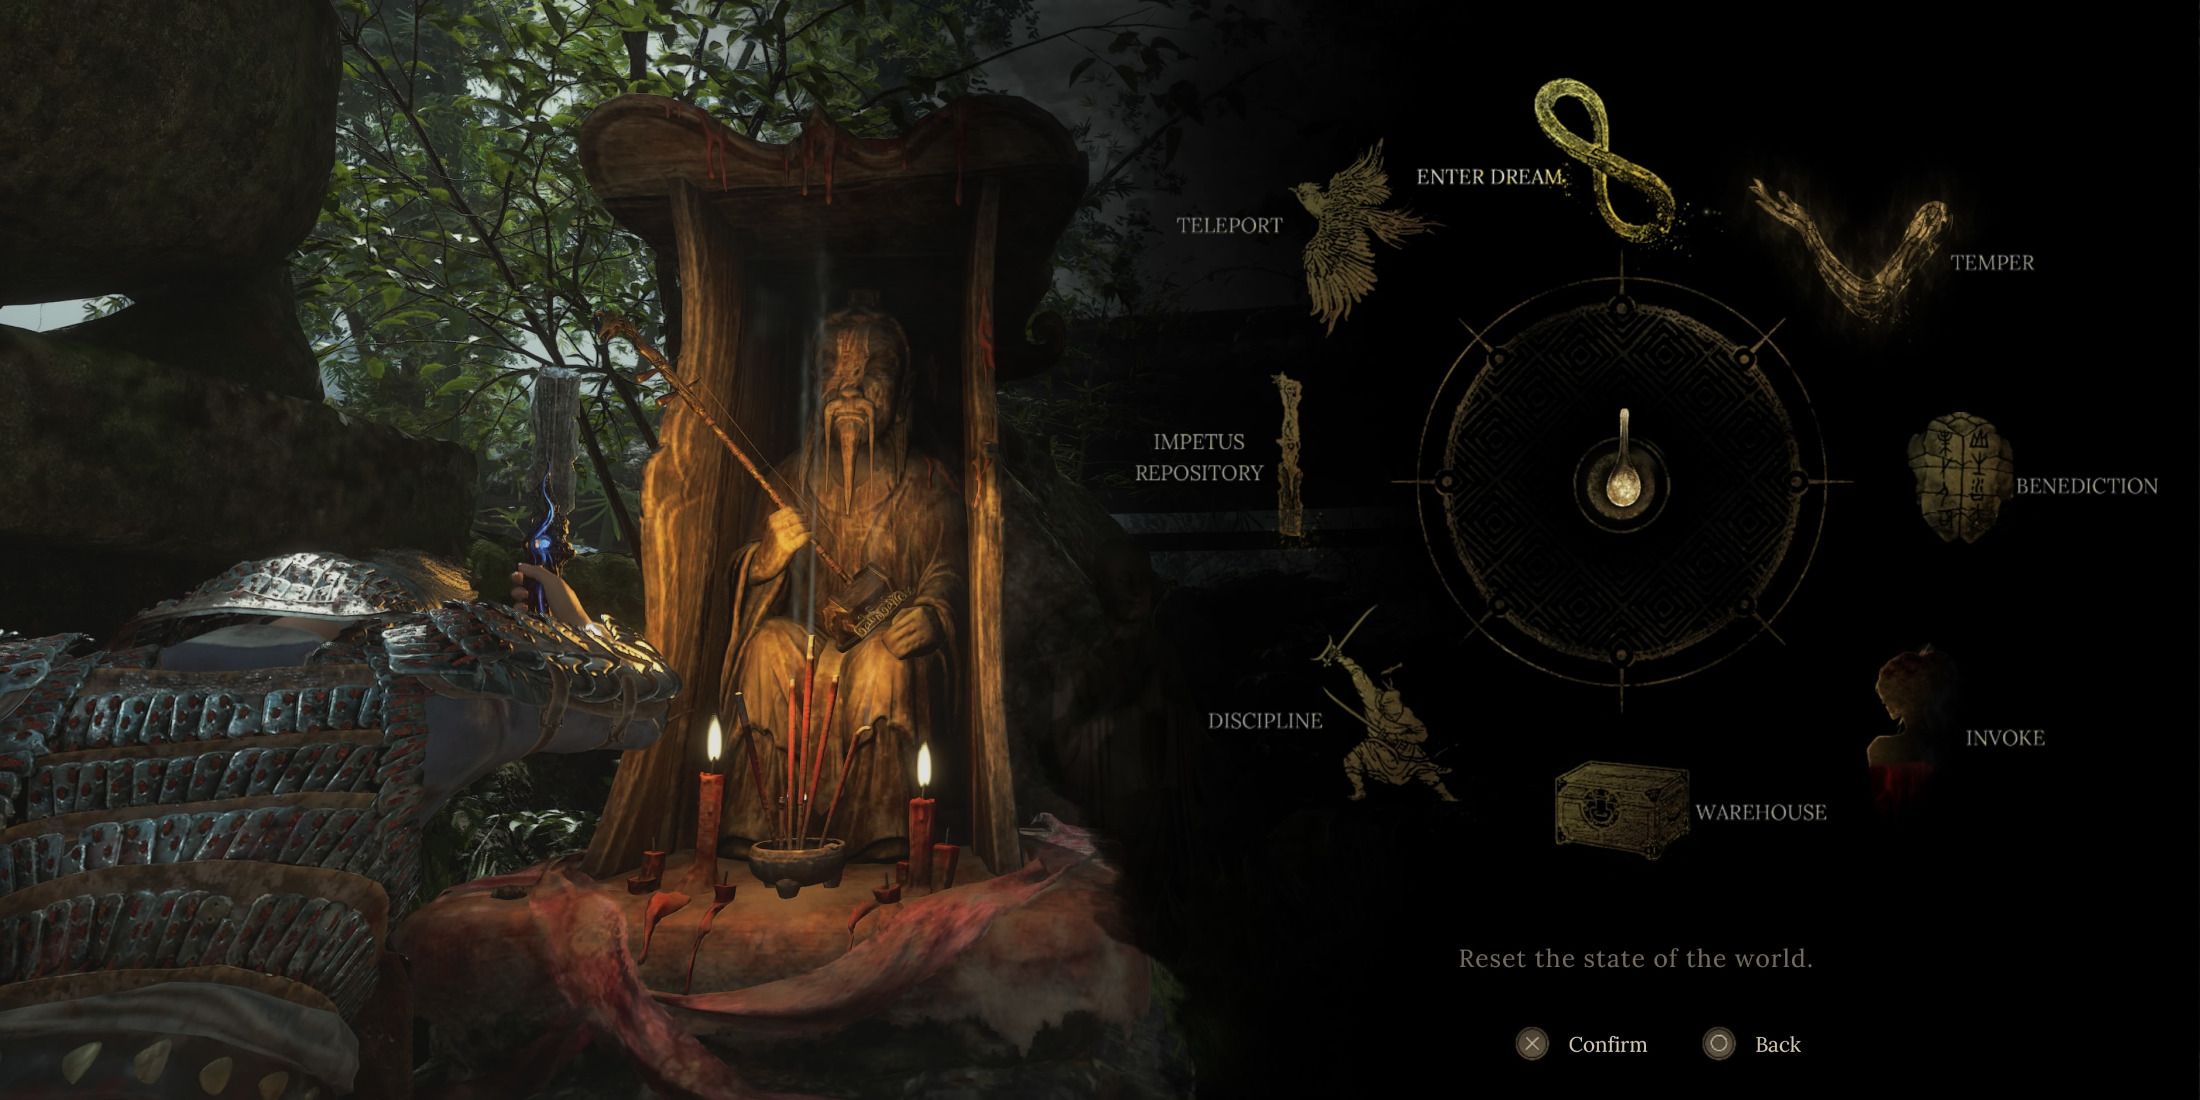
In the initial zone of Wuchang: Fallen Feathers, known as Worship’s Rise, players can discover a total of 12 Shrines. While many are easily found along the main storyline path, some are situated in optional areas, leading players to occasionally feel like they might have overlooked one due to the considerable distances between certain Shrines. This guide aims to help players locate every Shrine in Wuchang: Fallen Feathers, as detailed below.
When a unactivated Shrine is in proximity, a red marker can be seen around the edge of the compass in the bottom-right corner of the interface. Although this marker does not provide direct guidance to every Shrine, it can be a useful tool for narrowing down locations.
Locations of All Shrines in Worship’s Rise – Wuchang Fallen Feathers
Reverent Temple
As players leave the structure at the game’s start, they will find the Reverent Temple Shrine directly to their right.
Buddha Cliffs
Proceed from the Reverent Temple Shrine into the open area beyond. Navigate through the gate on the right, veer right, and follow the descending pathway until reaching an area featuring wood scaffolding. The Shrine at Buddha Cliffs is located at the top of this scaffolding.
Lightzen Temple
Descend the ladder next to the Buddha Cliffs Shrine and go through the cave below. After exiting the cave, continue along the path to the right, descending further. At the lower level, take a left turn to enter the Lightzen Temple area, with the Lightzen Temple Shrine positioned directly ahead on the right.
Shu Sanctum
Reaching the Shu Sanctum Shrine offers several routes, and exploring nearby areas can be rewarding. While not compulsory, players might decide to investigate before heading to the next Shrine.
After activating the Lightzen Temple Shrine, ascend the steps nearby and follow the route leading you to the Master Raider – Man-eating Dhutanga. Defeating this boss will grant you the Lightzen Temple Key.
Return to the Shrine, with your back to it, and cross the courtyard towards the now-unlocked gate using the Lightzen Temple Key. Move along, traverse the Narrow Stretch, and climb the stairs when reaching a fork. At the top, advance until you find a building, turn right, and ascend the stairs into the Shu Sanctum. The Shu Sanctum Shrine is located on the first floor.
Annalum
Exit the Shu Sanctum through the entrance used to enter, watching the right side as you descend the stairs. There is a bridge that appears broken but is safe to traverse. Once across, turn left, follow the path ahead, and veer right at the fork.
Make a quick right to climb a large set of stairs and pass under a sign. At the top, turn around and advance to reach a staircase occupied by a large enemy who rolls a boulder. Turning around at the top of those stairs will reveal a ramp leading up to a roof. This roof connects to a ladder on the side of a building, which players should climb.
After ascending the ladder, cross the roof to reach another ladder leading down into an open area where a fire dancer enemy awaits. After defeating this foe, position yourself near the descended ladder, face left, and move forward to reach a path adjacent to a building with a banner. Continue along this path to bridge over and arrive at the Annalum Shrine, positioned next to a tree with red foliage.
Mercury Workshop
Return to the Shu Sanctum Shrine and utilize the internal stairs to ascend to the third floor. Here, players will encounter the boss Feathered Priest – Lu Bingzhang and ought to defeat it to acquire the Shu Sanctum Key. Subsequently, exit to the building’s first floor, interact with the central cylinder, and descend through the floor using the revealed stairs.
Then, continue moving down through a section of wood scaffolding. Upon reaching the end, traverse a short corridor and turn right to access the Mercury Workshop Shrine, situated to the left side of the path.
Bandit Cave
Next, cross the feather-like red platform beside the Mercury Workshop Shrine to reach some wooden scaffolding, marking the start of a path leading downwards. As the descent can be perilous, be prepared to confront Corruption and Blight, but the route is largely straightforward, ultimately leading to a wooden path that continues downward.
Following this path will take players to the Bandit Cave. Continuing forward will lead to an ascending U-turn that concludes at the Bandit Cave Shrine.
Doomwillow Beach
With your back to the Bandit Cave Shrine, advance forward to enter an arena where you will face Blightweaver – Great Centipede. Once this boss in Wuchang: Fallen Feathers is defeated, follow the path at the arena’s far end to reach the Tower of Sacrifice. Use the lift inside and follow the path to find the Doomwillow Beach Shrine on your left.
Lu Mansion
With your back to the Doomwillow Beach Shrine, choose the path that leads forward and to the right. At the fork, keep right to enter an open area where the Lu Mansion Shrine can be found on the left side, close to a lift.
Corpse Pit
Return to the Doomwillow Beach Shrine again, facing it this time, and take the path that goes forward and to the left. This will lead you to a blood river; enter the river and proceed left. You will encounter a horse-like enemy and a ladder just past this foe for you to climb.
At the top, contact the path by pushing through a tree if necessary, until reaching a small fire. Turn right and move forward, passing a ladder on your right. Shortly after, players will arrive at a corridor with tentacles, behind which lies Reborn Treant – Soulwood. Defeating this boss will make the Corpse Pit Shrine manifest in their arena.
Palace Hill
Using the slope next to the Corpse Pit Shrine, exit the Reborn Treant’s arena. This route will eventually lead into a building; players should navigate the stairs within to reach the second floor. From there, exit the building and follow the ascending path up to a ladder that you need to climb. Once on top, continue through a bright area towards Tang Emperor’s Palace.
Advance forward, climb the stairs in sight, and pass through an opening in the wall leading to an area connected by small bridges. Head to the back-left corner to locate a wooden ramp leading to the roof.
There is a ladder on the far side of that roof that players can descend. Go forward at the bottom and ascend another ladder upon encountering one. You can now move ahead, utilize the stairs to your right, and continue forwards. At this point, you should see a building on your left, where you will find the Tang Palace Maid.
After passing this building, glance left to find a ladder for ascending to a roof. Turn right upon reaching the top, and follow the path to arrive at the Palace Hill Shrine.
Lotus Pond
Inspect the area to the left of the Palace Hill Shrine to locate a Buddha Statue. Take this statue to the right side of the Palace Hill Shrine and insert it into the device found there. This action will drain the pool that lies across from the building housing the Tang Palace Maid, allowing entry that triggers a fight against Commander – Honglan. For clarity on reaching the pool, follow these steps to access the Lotus Pond Shrine when the boss is defeated:
- Utilize the path across from the Palace Hill Shrine to access a roof.
- Use the ladder on the left to go down.
- At the bottom, turn left, go forward, and right at the fork.
- Walking a bit further, you will find the entrance to the Lotus Pond pool on your left.
After defeating Honglan in Wuchang: Fallen Feathers, players will automatically be transported back to the Reverent Temple and will need to make their way back to the Lotus Pond to activate its Shrine.