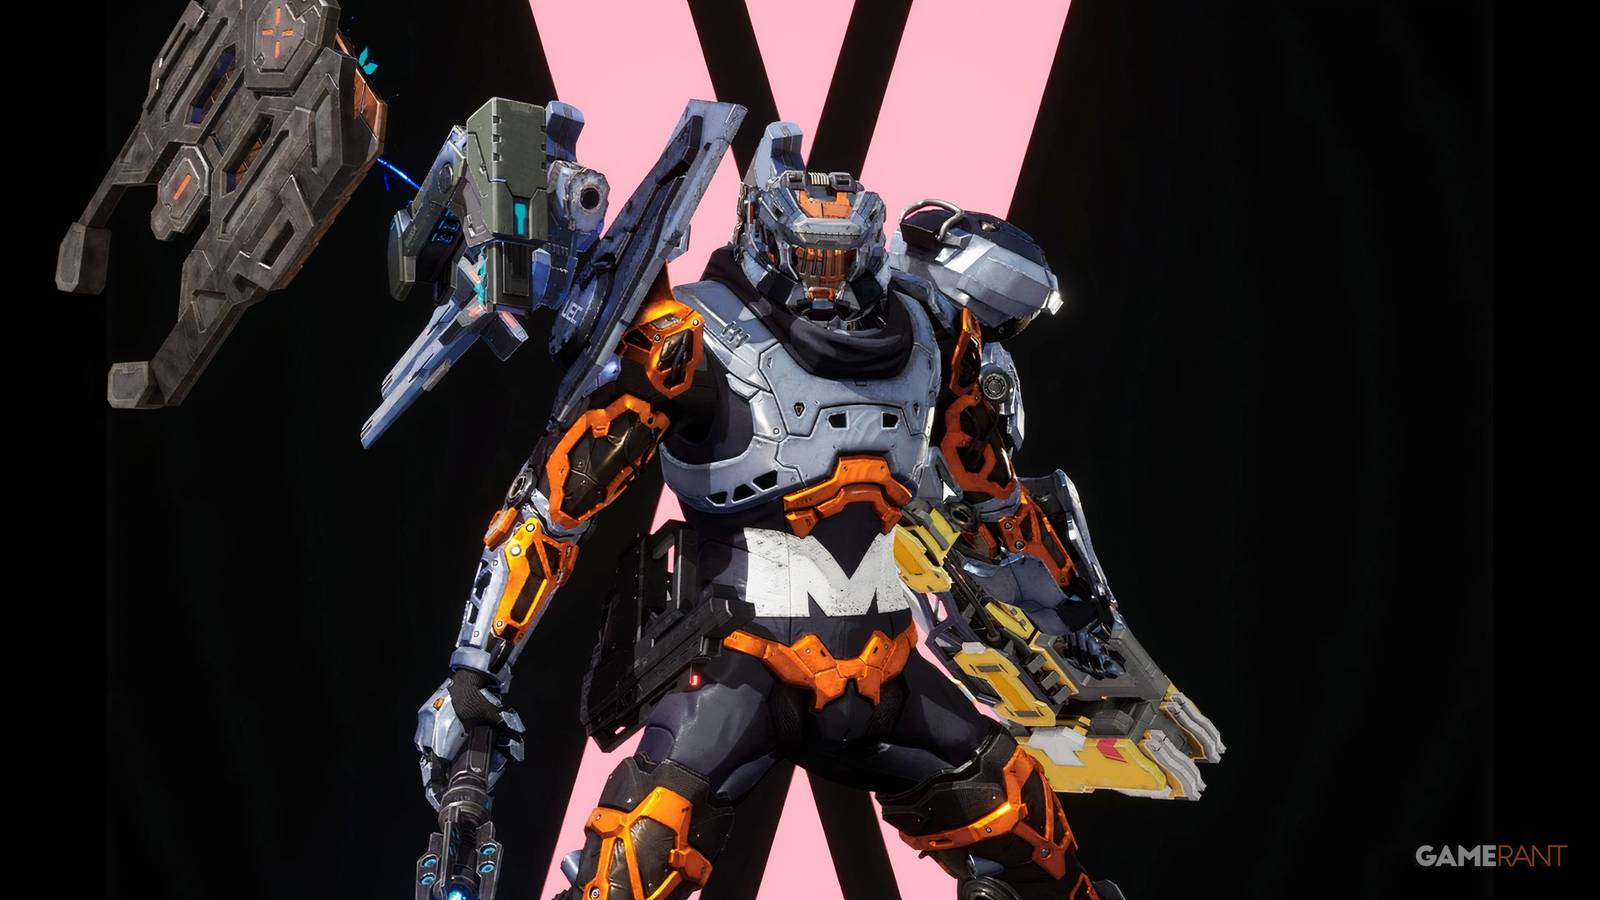
One of the standout features of Daemon X Machina: Titanic Scion is the ability to customize your mech. The game provides an extensive array of choices for armor, weapons, and additional gear, which allows you to craft your Arsenal in distinct ways. You could prioritize speed for a quick-moving mech or enhance its VP to create a formidable tank.
However, tweaking mech statistics can be complex. It’s essential to discover which armor combinations work best with specific weapons and to comprehend how each skill can help mitigate the weaknesses of a given setup.
This guide for Daemon X Machina: Titanic Scion aims to clarify Arsenal statistics and illustrate how to utilize them for specialized builds. First, let’s break down what each performance indicator signifies and how it impacts your setup.
Understanding Daemon X Machina: Titanic Scion Loadouts and Builds
Each Arsenal comprises three fundamental components: Armor, Loadout, and Skills. Modifying these components alters the Arsenal’s performance, as reflected in Durability, Mobility, Brawling, Shooting, and Fuel Consumption.
- Armor: The outer layer of an Arsenal, consisting of five parts: Head, Body (cuirass), Left Arm, Right Arm, and Legs.
- Loadout: The array of weapons and gadgets. A loadout can accommodate up to four weapons, one shoulder-mounted piece, and one Auxiliary item.
- Skills: Known as Fusion Factors in Titanic Scion. Each Arsenal can equip one skill per weapon, one General Action skill, and a select number of Passive Skills.
To maximize an Arsenal build, it’s crucial to optimize all three areas. Adjustments can yield various results, making it Durable with high VP, Agile with high Mobility and lower Femto usage, or high-DMG by enhancing Brawling or Shooting capabilities.
Optimal Balanced Build & Loadout
A balanced build in Titanic Scion seeks to achieve a middle-tier performance across the five metrics: Durability, Mobility, Brawling, Shooting, and Fuel Consumption. The following table provides an example of such a build.
Top Armor Choices for Balanced Builds
| Head | Auxo |
|---|---|
| Body | Acropolis AS (or an Assault-type cuirass) |
| Arms | Gun Vambrace + Midweight Arm Piece |
| Legs | Auxo or Halberd |
Recommended Loadout for Balanced Stats
| Primary Weapon | Laser Blade (Baldur’s Edge) |
|---|---|
| Secondary Weapon | Gun Vambrace |
| Auxiliary | Additional Booster |
| Shoulder Weapon | Recovery Equipment |
Key Skills for a Balanced Build
| Skill | Effect |
|---|---|
| Harvester Scythe | AoE Damage for Laser Blade |
| Helm Splitter | Armor and Stance Break |
| Auto-Dodge | Utilizes Stamina for Automatic Dodge |
| Melee Brawling Performance | Increases Melee Weapons’ Stats |
Performance Objectives
- Durability: B
- Brawling: A
- Shooting: B
- Mobility: B
- Fuel Consumption: B
Top Agility Build & Loadout
An agile build focuses on excelling in Fuel Consumption and Mobility, aiming for A-level performance while achieving B-level in Brawling or Shooting, depending on whether it emphasizes melee or gun damage.
Superior Armor for Agility
| Head | Auxo |
|---|---|
| Body | Auxo WS (or a Wing-type cuirass) |
| Arms | Lightweight Armor (any type) |
| Legs | Auxo or Halberd |
Optimal Loadout for Maximum Agility
| Primary Weapon | Blade |
|---|---|
| Secondary Weapon | Knife |
| Auxiliary | Cooling System |
| Shoulder Weapon | Blitz (Elfiede) |
Essential Skills for an Agile Build
| Skill | Effect |
|---|---|
| Combo Thrust | Causes Consecutive Damage to Nearby Enemies |
| Utsusemi | Teleports to a Nearby Enemy for Capture |
| Blink | Enables Faster Dodging |
| Aerial Boost Speed | Increases Maximum Aerial Speed |
Performance Objectives
- Durability: C
- Brawling: A
- Shooting: E
- Mobility: A
- Fuel Consumption: A
Optimal Tank Build & Loadout
A tank build aims for an A-level in Durability while balancing damage output and Fuel Consumption. The challenge lies in the fact that most heavy armor and weapons are memory-intensive and can hinder performance. To build an effective tank, you need to wisely utilize memory-reducing and weight-saving Attachments.
Ideal Armor for Tanks
| Head | High-VP (Futsunushi) |
|---|---|
| Body | Heavyweight (Gladius) |
| Arms | Gladius + Gun Vambrace |
| Legs | Lightweight (Auxo) |
Recommended Loadout for Durability
| Primary Weapon | Mace |
|---|---|
| Secondary Weapon | Knuckle (Top Rank) |
| Auxiliary | Cooling System, Additional Boost, or Jamming Grenade |
| Shoulder Weapon | Railgun |
Key Skills for a Tank Build
| Skill | Effect |
|---|---|
| Onslaught | Delivers Heavy Charged Damage |
| Barrier Burst | Absorbs and Redirects Enemy Damage |
| Macro Barrier | Creates a Temporary Shield |
| Kick | Deals Physical Damage |
| Limit Change | Boosts Stats by Consuming VP |
| Repair Shot | Creates a VP-regenerating Zone |
Performance Goals
- Durability: A
- Brawling: B
- Shooting: E
- Mobility: C
- Fuel Consumption: C
The Role of Attachments in Titanic Scion Builds
Selecting the right armor and gear is just the beginning of creating an effective Arsenal. An essential aspect of achieving your desired stats is connecting each item with appropriate Attachments.
Attachments serve as enhancements specific to armor, weapons, and gear. For instance, a Memory Consumption Attachment reduces the memory allocation of an item within the Arsenal.
To maximize your build’s output, it’s vital to enhance its stats with Attachments. Use Weight Reduction Attachments for Heavyweight armor, while Agility-focused builds can benefit from Femto Capacity boosters.
Guidelines for Crafting Optimal Builds in Daemon X Machina: Titanic Scion
- Assess your build’s weaknesses: Every Arsenal has particular limitations, such as reduced dodge speed or higher fuel usage. Check these in the Hangar under the information tab to adjust your Attachments accordingly.
- Focus less on aesthetics: Customize the appearance via the customization menu to shape it however you like.
- Utilize various loadouts for distinct objectives: Choose an Agility-focused build for exploration, a Tank for defeating Boss Enemies, and a Balanced approach for campaign completion.