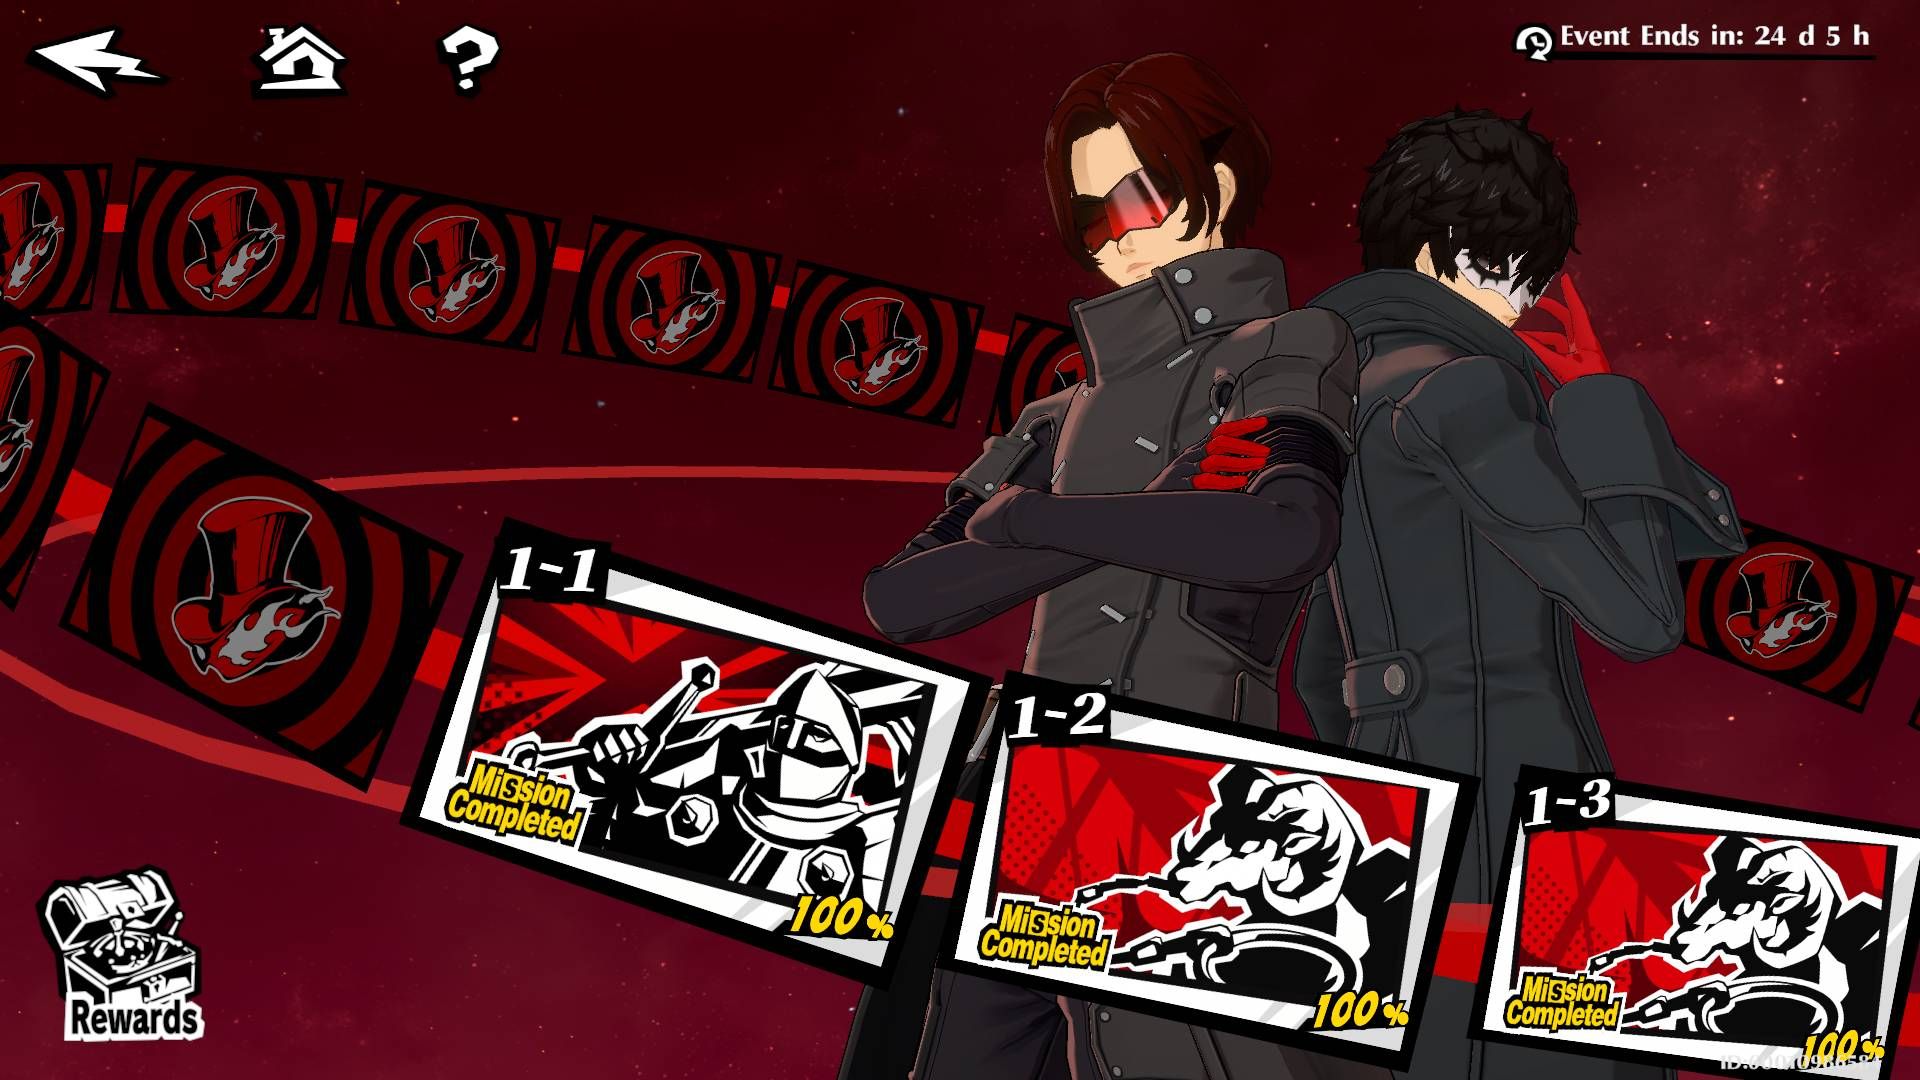
Persona 5 The Phantom X features its inaugural event as a crossover, where characters known as the Phantom Thieves from the original Persona 5 collaborate with The Phantom X cast to explore a reimagined version of Kamoshida’s Castle. This adventure is divided into 14 missions, filled with optional goals and diverse collectibles to discover.
This guide is designed to help players achieve a 100% completion rate for every mission within the Castle Arc of Persona 5 The Phantom X. It includes comprehensive details on collectible locations and strategies for tackling more formidable enemies.
How to Fast Travel in Persona 5 Phantom X
Looking to learn how to fast travel in Persona 5 The Phantom X? This guide outlines every method to quick travel throughout the game.
Understanding Crossroads of Fate: Castle Arc
The Crossroads of Fate: Castle Arc is the central theme of the Take Your Heart Event, where the Phantom Thieves from Persona 5 and Persona 5: The Phantom X find themselves in a peculiar re-creation of Kamoshida’s Palace. The exploration of this Palace is segmented into 14 missions, which will be released in batches over the event period, likely leading to a climactic battle against Shadow Kamoshida (as suggested by the icon for Mission 14).
This guide aims to provide insights for 100% clearing each mission. Updates will be made to include mission details, including locations of optional bosses, treasure chests, and the scattered Orbs of Greed/Golden Volleyballs located throughout the Castle.
Crossroads of Fate: Castle Arc – Mission 1-1 Walkthrough
The opening mission serves mainly as a narrative introduction to the event, depicting the Phantom Thieves arriving at Kamoshida’s Palace, introducing characters Mona and Skull, and culminating in a brief battle alongside them against some Shadows. There are no collectibles hidden in this segment, and the enemies can be easily defeated with electricity-based attacks, readily available from Ryuji.
Crossroads of Fate: Castle Arc – Mission 1-2 Walkthrough
This marks the first mission where players can explore more freely, with several items to find within the castle. Begin by moving right toward a door that accesses the dungeon area. Here, you will find a Golden Volleyball. After collecting it, navigate up the main staircase, turning right to locate a treasure chest. After gathering both items, inspect the painting at the top of the staircase to advance deeper into the castle.
To the left after reaching the stairs, there lies another Golden Volleyball; descend the left staircase to uncover yet another treasure chest. Once you have both, climb the right stairs and use the elevator to reach the tower. A left turn will lead to a boss enemy guarding a chest. This adversary is susceptible to Ice damage and should pose minimal threat. Defeat it, loot the chest, and head back to take the path located to the right of your entry point.
After a cutscene, part of the floor rises, establishing a pathway to a higher chain. Before proceeding there, venture right to eliminate a Shadow and obtain another treasure chest. Return and climb the chain to pull it, which opens the gate. Through this gate, engage in combat against Eligor, who is weak to Lightning, making Ryuji an effective choice for this encounter. Defeat this enemy to conclude the mission.
Crossroads of Fate: Castle Arc – Mission 1-3 Walkthrough
<pIn this chapter, the team escapes outside the castle to find an alternative entrance to the west wing. While facing the castle, look to the left to discover the first Golden Volleyball along with a treasure chest. After entering the castle and skillfully traversing chandeliers, ambush some enemies weak against Wind damage (Morgana shines brilliantly in this regard); there’s another treasure chest to the right.
Proceed through the door guarded by Shadows, and after turning a corner, check the bookshelf on the left to find the second Golden Volleyball. Move on to the next room and use Wonder’s Third Eye to follow glowing footprints, activating the chains in the appropriate order. Opening the chest in the center triggers a battle against two Incubi, which are vulnerable to both Bless and Gun attacks–making them easy targets for Wonder and Janosik.
After defeating the foes, head further into the hall to confront more enemies. The next obstacle is another chain puzzle solvable via Third Eye, and to the right, there will be a locked door requiring a key. After resolving the chain puzzle and unlocking the door, a treasure room awaits, guarded by Shadows susceptible to Ice and Lightning; defeating them grants access to three treasure chests within.
With all loot gathered, head back and use the door accessed via the chain puzzle to find stairs. On the right, you’ll uncover the last Volleyball, then descend to complete the mission.
Crossroads of Fate: Castle Arc – Mission 1-4 Walkthrough
Continuing the infiltration, initiate this mission by entering the door adjacent to your starting point, leading to the staircase from the previous mission, which is now collapsed, yielding a treasure chest and a Golden Volleyball. With those collected, double back and follow the mission marker to arrive at the castle kitchens. Ascend onto shelves and maneuver around obstacles to eliminate a powerful enemy patrolling near a chain. After defeat, pull the chain to extinguish the fireplace and lower the bars blocking the door. Don’t forget to grab the Orb of Greed and Golden Volleyball from the table nearby and to open the treasure chest nestled within the fireplace before leaving.
Once you round the corner into a small hallway, an encounter with Shadows will take place. Post-battle, loot the key left behind and utilize it to activate a chain in the room, facilitating the path forward. Before exiting, collect the Golden Volleyball on a shelf near the patrolling Shadow and secure the nearby chest key to access the treasure in this area.
In the following hallway, retrieve the chest at the end and continue through the door on the left. After exiting into another hallway, gather the chest found there and pursue the mission marker towards the final battle of this mission, where the enemies are vulnerable to Ice attacks. Notably, this mission unveils that a female character was captured and imprisoned underground, indicating Panther’s location.
Crossroads of Fate: Castle Arc – Mission 1-5 Walkthrough
The objective now shifts to rescuing Panther from the underground prison. Start by advancing along the path and looking to the right for the first Golden Volleyball located inside a cell. After collecting it, navigate across the water to trigger a brief cutscene. Afterward, divert left to confront a boss enemy guarding a chest. This enemy consists of four Agathions, weak to Wind attacks. Since Morgana has limitations on hitting multiple targets with his Wind attacks, it would be prudent to eliminate two before utilizing All-Out Attacks unless you secure lucky Physical critical hits or bring another party member skilled in Wind.
Once they’re eliminated, loot the chest and reverse your steps to gather loot from other cells on your left, defeating a Shadow and finding treasure in another. Proceed to the mission marker to trigger dialog regarding a locked door, then open the adjacent cell and dismantle some barrels to reveal a forward path. Inspect the clue Panther left behind in this room; continue to turn right to find a treasure chest and left for another Orb of Greed.
After tackling some enemies weak to Lightning, unlock the nearby cell for a second clue. Move forward to find the chest, and cross the water with the conveniently located cages. Retrieve the last clue across the water, then proceed downward through the door while ensuring to pick up the Golden Volleyball on the left before locating Panther in her cell, completing the mission. The boss you will face is vulnerable to Fire.
Crossroads of Fate: Castle Arc – Mission 1-6 Walkthrough
With Panther saved, the next task is to locate Joker. Progressing deeper into the underground prison presents yet another formidable enemy. Thankfully, using Gunfire and Fire attacks from Panther can lead to their quick defeat. Once dispatched, inspect the left cells for a robust enemy guarding a chest (weak to Ice) and activate a nearby chain to lower a bridge.
Crossing the bridge allows you to explore the left cells, revealing a treasure chest and a Golden Volleyball. Ascend the staircase, where a key for the adjacent left cell can be found. Defeat the enemy within, weak to Lightning, and then loot the chest. As you examine the raised drawbridge ahead, you’ll gain access to the neighboring cell that holds the enemy bearing the key to the pull chain.
Descend the drawbridge and unlock all nearby cells to defeat enemies and discover more treasure. Then approach the door marked for the final encounter of this area, where Lufel will signal for you to prepare upon interaction. For now, jump across some cages to access the area overlooking the water, where both a Golden Volleyball and the Hidden Room Key are located.
With the Hidden Room Key secured, head back to the initial drawbridge and locate the locked room it unlocks. This room contains the last Golden Volleyball and a powerful enemy guarding the final treasure chest. This group of enemies is weak to Lightning and Fire, making them prime targets for both Panther and Skull. After defeating them, return to the door indicating the final encounter to confront the mission’s last enemy, who is also weak to Lightning.
Crossroads of Fate: Castle Arc – Mission 1-7 Walkthrough
This mission takes players back to the west wing of the castle, revisiting areas familiar to Panther. To enter the locked room, you must first gather weapons and shields for the four knights lacking equipment. As you exit the hall filled with suits of armor, look right for a Golden Volleyball sitting atop a chair by a roaming shadow. After collecting it, proceed down the hallway toward the armory.
Once in the armory, immediately grab a spear mounted on the wall to your right before taking down the patrolling shadow nearby and opening the adjacent chest. Continue past this chest to find a second Golden Volleyball shelved on the far wall. Eliminate the other patrolling shadow and grab a second spear from the opposite wall before venturing through the nearby door to continue.
Crossroads of Fate: Castle Arc – Mission 1-8 Walkthrough
As the Phantom Thieves reenter the dungeons beneath the castle, they utilize the key from the previous mission to access Kamoshida’s Training Hall of Love. Upon gaining control, you can see a path forward and stairs leading down; however, the latter leads to a locked door. Move slightly right at the staircase’s top to discover the first Golden Volleyball of this level, then descend to eliminate the patrolling shadow.
After dealing with the shadow, continue along the path, taking down enemies until you reach a door blocked by a shadow. Defeat this foe, check the right side for a side path, and collect a treasure chest before proceeding through the door. Entering this room provides access to a chest in one corner and the Hidden Room Key in another.
Retrieve the chest and key before heading back to the previously mentioned locked door. This hidden room contains a powerful shadow, a Golden Volleyball, and three treasure chests–defeating Eligor, who is weak to lightning, makes this rewarding journey worthwhile.
Upon defeating the enemy and looting the hidden room, return to the Training Hall and advance after hearing cries for help toward an area blocked by a locked gate. Looking behind you after locating the gate reveals another Golden Volleyball; then, progress through the gate across the water to explore further. Climb crates at the end to access a new section of the dungeon.
After crossing the rafters and entering yet another hall, backtrack slightly and take the left path for another treasure chest. Proceeding back will trigger a cutscene where Morgana identifies a suspicious shadow. Confront it to obtain the key you need, then continue down the main path, spotting another chest on the right end, guarded by a formidable shadow. Most foes encountered here are weak against gunfire, simplifying the battle.
After defeating this shadow and acquiring the chest, look behind to recover another Golden Volleyball. Now, return to the area where the shadow was patrolling to unlock the gate leading back to the earlier locked door; opening this gate further progresses the mission. Head down the path’s end to collect the final chest for this mission. This sets the stage for the climactic fight ahead, where you battle an Archangel, who is vulnerable to lightning and curse damage. However, only half health needs to be removed to complete the mission and trigger a concluding cutscene.
Crossroads of Fate: Castle Arc – Mission 1-9 Walkthrough
<pThis chapter resumes directly from the previous mission, with the Phantom Thieves standing against numerous strong foes. Luckily, Joker arrives just in time to change the course of this encounter. This battle features a fixed-party setup with Wonder and Joker facing the Archangel, who starts off at half health and retains the same fighting style as before. Joker can exploit its weaknesses easily, as can Wonder if any lightning damage is introduced.
Crossroads of Fate: Castle Arc – Mission 1-10 Walkthrough
The Phantom Thieves regroup in the upper levels of the Castle alongside Joker to seek out baseballs that deactivate traps hindering their path. It’s wise to ensure Wonder has Janosik equipped, along with Personas capable of dealing Fire, Ice, and/or Lightning damage before initiating this mission. Joker is a guaranteed ally, capable of inflicting substantial AOE Curse Damage while gaining extra turns through his Will of Rebellion ability; including Cattle and Closer can optimize your team.
Dive left upon starting and secure the Golden Volleyball. Proceed through the door and encounter a Safe Room straight ahead. Post-unlock, shift right to find another Golden Volleyball and a strong shadow. This enemy group is susceptible to gunfire, lightning, and curse damage, posing minimal threat. After handling them, navigate through a nearby door, defeating Shadows to access a pull chain.
Utilizing the pull chain unlocks a familiar side path; eliminate the ensuing strong shadow to uncover a chest inside. Subsequently, follow the marker to reach a new area. Climb the bookshelf to reach a window and exit onto the castle roof. As you descend the castle’s battlements, discover another Golden Volleyball on a box. The final Volleyball for this mission lies just before you drop into the area with the sliding box puzzle; detour to the left at the specified location in the imagery above.
Upon landing in a sizeable room featuring movable boxes, players must engage in relatively simple puzzles to advance. The objective is to complete each puzzle according to a pattern. For the inaugural puzzle, slide the box into the lower-right corner to form an X. Take out the enemy nearby before claiming the chest it guarded. Next, execute a push on the adjacent block to align it according to the pattern, enabling further progress.
Rearranging the block on the left will clear a route to another chest; subsequently move the block as indicated in previous correct placements. Once both placements are set, players can confront the culmination of this mission’s battle. Utilize lightning to strike Eligor and ice against Berith to expedite their defeat.
Crossroads of Fate: Castle Arc – Mission 1-11 Walkthrough
The mission initiates at the foot of a staircase; proceed by ignoring the mission marker and venturing to the staircase’s base. You’ll find an enemy and a treasure chest here; afterward, return to the marker’s location. This leads you to a corridor with a gate positioned right. Bypass the gate and turn the corner to engage the patrolling Shadow. Directly ahead, a pull chain will open the gate.
Upon entering, move immediately through the first door on the right to discover bookshelves. One corner features a Golden Volleyball on a shelf. Utilize the pull chain in this room to access another area while also locking the entryway you just used. Journey towards the newly unlocked gate; ensure to defeat the Shadow in the room beyond, then seize another Golden Volleyball from a right-side shelf. After this is completed, pull the chain here to open two gates within the hallway, inspecting the left bookshelf to unveil a hidden chest.
On the contrary side lies the key for a locked door in the corridor, which leads to a region containing yet another hidden chest nestled behind a bookshelf. With all collectibles obtained in the hallway, pursue the mission marker towards the Chapel. In this area, advance forward post-cutscene to claim another treasure chest.
Once secured, leap across the platforms surrounding the pillars to reach the opposing balcony where a chain can be engaged to create a bridge spanning the upper section of the Chapel.
Follow the mission marker across the path you’ve just unlocked to reach the far side of the room. Drop down onto a nearby balcony to gather a treasure chest; behind you after retrieval, you will find a Golden Volleyball. Complete these actions before pursuing the mission marker to traverse further platforms reaching the scaffolding behind the grand statue towering over the chapel. Descend the scaffolding and collect the baseball lying adjacent to the statue’s feet to complete the mission.
Crossroads of Fate: Castle Arc – Mission 1-12 Walkthrough
Your next task is to navigate through the ground floor of the Chapel, starting with the elimination of Shadows. Utilize benches as cover to ambush patrolling enemies as you advance. After neutralizing the second enemy, a treasure chest resides on one side along with a Golden Volleyball located on the opposite side (resting on a pew); be sure to collect both as you approach the room’s far side.
Activate the chain upon reaching the far end to create access to the next area, then veer right toward the door that leads deeper into the mission to discover an alternate path. A chest can be discovered to the left, with the right side housing a pull chain. Engaging the chain will grant access to movable blocks, indicating it’s time for a block puzzle. Retract the first block back into the pull chain’s room, then push it into the position displayed in the first image to make some blocks disappear.
This action allows moving subsequent blocks into the main chapel section, pushing it into the position displayed in image two, effectively clearing more blocks and accessing a new area featuring another patrolling Shadow and another treasure. After looting the chest, delve deeper into this new area to locate both a Golden Volleyball and a pull chain that will open all metal gates within the chapel.
With all collectibles accounted for in the chapel, proceed through the door delineated by the mission marker, leading to an encounter with two Berith followed by Eligor. Weak to Ice, both Berith and Eligor (vulnerable to Lightning) should not pose much difficulty by this stage of the adventure provided you are adequately leveled. After dispatching them, collect a treasure chest located in one corner of the room along with a Golden Volleyball resting on a podium. Engaging the nearby pull chain opens the exit gate, granting passage to complete the mission.
Crossroads of Fate: Castle Arc – Mission 1-13 Walkthrough
Resuming from the last mission, the Phantom Thieves emerge from the safe room following a brief break to locate the final baseball. Trace the Mission Marker, defeating any Shadows encountered along the way, until reaching a treasure chest directly ahead. Take a brief detour to gather it before proceeding with the mission marker, leading to a hallway shown in the accompanying imagery. At the end of this hallway lies another chest, collect this before reentering the door marked to continue the story. Beyond this door lies a library, where a Golden Volleyball rests on one of the tables.
When heading out to retrieve the first book, backtrack through the path taken and enter the left door to discover a book resting on a bookshelf inside. Next, utilize the movable blocks in the hall to create an opening leading deeper into the castle, positioning them as displayed in the second image above. After making your way to the right past the previously moved blocks, shift another block into place (as per image three) to reveal another treasure chest; then return your steps to take the left path yielding access to the final block puzzle, which connects you to a room housing a challenging fight.
This confrontation includes Eligor and five Berith, which could become troublesome unless you have AOE Ice damage and at least one member with a lightning-based attack. If both are in your repertoire, you can eliminate them swiftly utilizing all-out attacks. After their defeat, collect the chest they were guarding and follow the mission marker towards another patrolling Shadow who contains another essential book.
Defeating this Shadow is also manageable, especially when leveraging fire or gun attacks for knockdowns. Once victorious, obtain the Book of Domination. You’ll encounter a new block puzzle blocking the path forward, but Third Eye will reveal the block movement order required for green and yellow blocks. Once the blocks are clear, navigate around the corner to find yet another Golden Volleyball on a bookshelf. Continuing onwards requires climbing over some wooden blocks to face another patrolling Shadow and deal with yet another block puzzle.
Use Third Eye to view the solution to this puzzle, granting access to a room that contains the final book alongside another Golden Volleyball. With both items secured, return to the library to unlock the secret room. Inside awaits the final confrontation for this mission against a «Torn King of Desire.» The entity is vulnerable to Lightning, Psi, and Bless damage, aggravating with a lot of health; however, defeating it quickly is attainable if your party isn’t under-leveled (noting the fact that all enemies here are at least level 50–with the final boss reaching level 52).
Crossroads of Fate: Castle Arc – Mission 1-14 Walkthrough
Upon entering this mission, turn immediately left and descend the stairs to find a Golden Volleyball before returning to the starting point to utilize the baseballs for deactivating the swinging blade trap. Make sure to collect the chest halfway through the trap-filled room before continuing to the end. Once you turn right here, eliminate the patrolling Shadow to ensure safety while looting the nearby chest. Behind this chest, navigate through a narrow gap in the wall to access a grapple point that leads to an additional chest.
Heading back and following the mission marker upward, continue down this straightforward path until surpassing the door indicated by the marker to find an enemy guarding both a Golden Volleyball and a treasure chest. Defeat them and collect both, then approach the marked door. Adjacent to this doorway, climbing on pillars allows entry onto a balcony overlooking the room ahead, where the last treasure chest is positioned. Descend and proceed through the doorway to encounter the culminating boss of this event.
Confrontation with Raga
Raga presents a simplistic yet hazardous challenge; this battle can be categorized into two main phases. Having a Medic on your team is essential, alongside a character capable of applying shields. During Phase 1, Raga will perform three distinct attacks, as outlined below:
|
Attack |
Effect |
|
Golden Knife |
Deals Physical Damage to 1 Foe. |
|
Golden Fork |
Deals Physical Damage to 1 Foe. |
|
Tongue Whip |
Deals Physical Damage to All Foes. |
Both the Golden Knife and Golden Fork inflict approximately the same damage, whereas the Tongue Whip deals slightly less but affects the entire party. Maintaining your team’s health and deploying shields where applicable should keep the encounter manageable, allowing you to wear down Raga’s first health bar. If he begins overwhelming your party members, consider strengthening your defenses or leveling up prior to this confrontation. Upon depleting the initial health bar, Raga begins to utilize his treasure to bolster himself, obtaining a defense enhancement and protective shield.
To successfully defeat Phase 2, focus your attacks on Raga’s Crown, as he will continuously recover hit points and reapply buffs and shields until it is shattered. Periodically, Raga drinks from his glass, indicated by the text «Raga is Preparing…» During this moment, it’s crucial for all party members to guard, as his subsequent turn involves using Gold Medal Spike, which inflicts high damage across the party. Blocking this attack significantly reduces the damage taken. Aside from this, apply previously successful strategies to chip away at his health until the crown is shattered.
Keep in mind, Raga’s buffs are linked to the shield, hence depleting it also reduces the damage he inflicts until he can regenerate it.
Once Raga’s crown is destroyed, he will initially employ a weaker Gold Medal Spike but will revert to his attack pattern from phase 1. Continue applying damage until he ultimately falls.