The narrative of Five Nights at Freddy’s: Secret of the Mimic immerses players in the enigmatic recesses of Murray’s Costume Manor, where numerous secrets await discovery. However, uncovering these secrets poses a significant challenge, with your Data Diver being the essential tool in this endeavor.
To make headway in FNAF: Secret of the Mimic, you must locate and gather every Data Diver clearance upgrade. If you encounter a puzzle that stumps you, this guide will help you find and solve the puzzles associated with each upgrade.
What are Data Diver Clearance Upgrades in FNAF Secret of the Mimic?
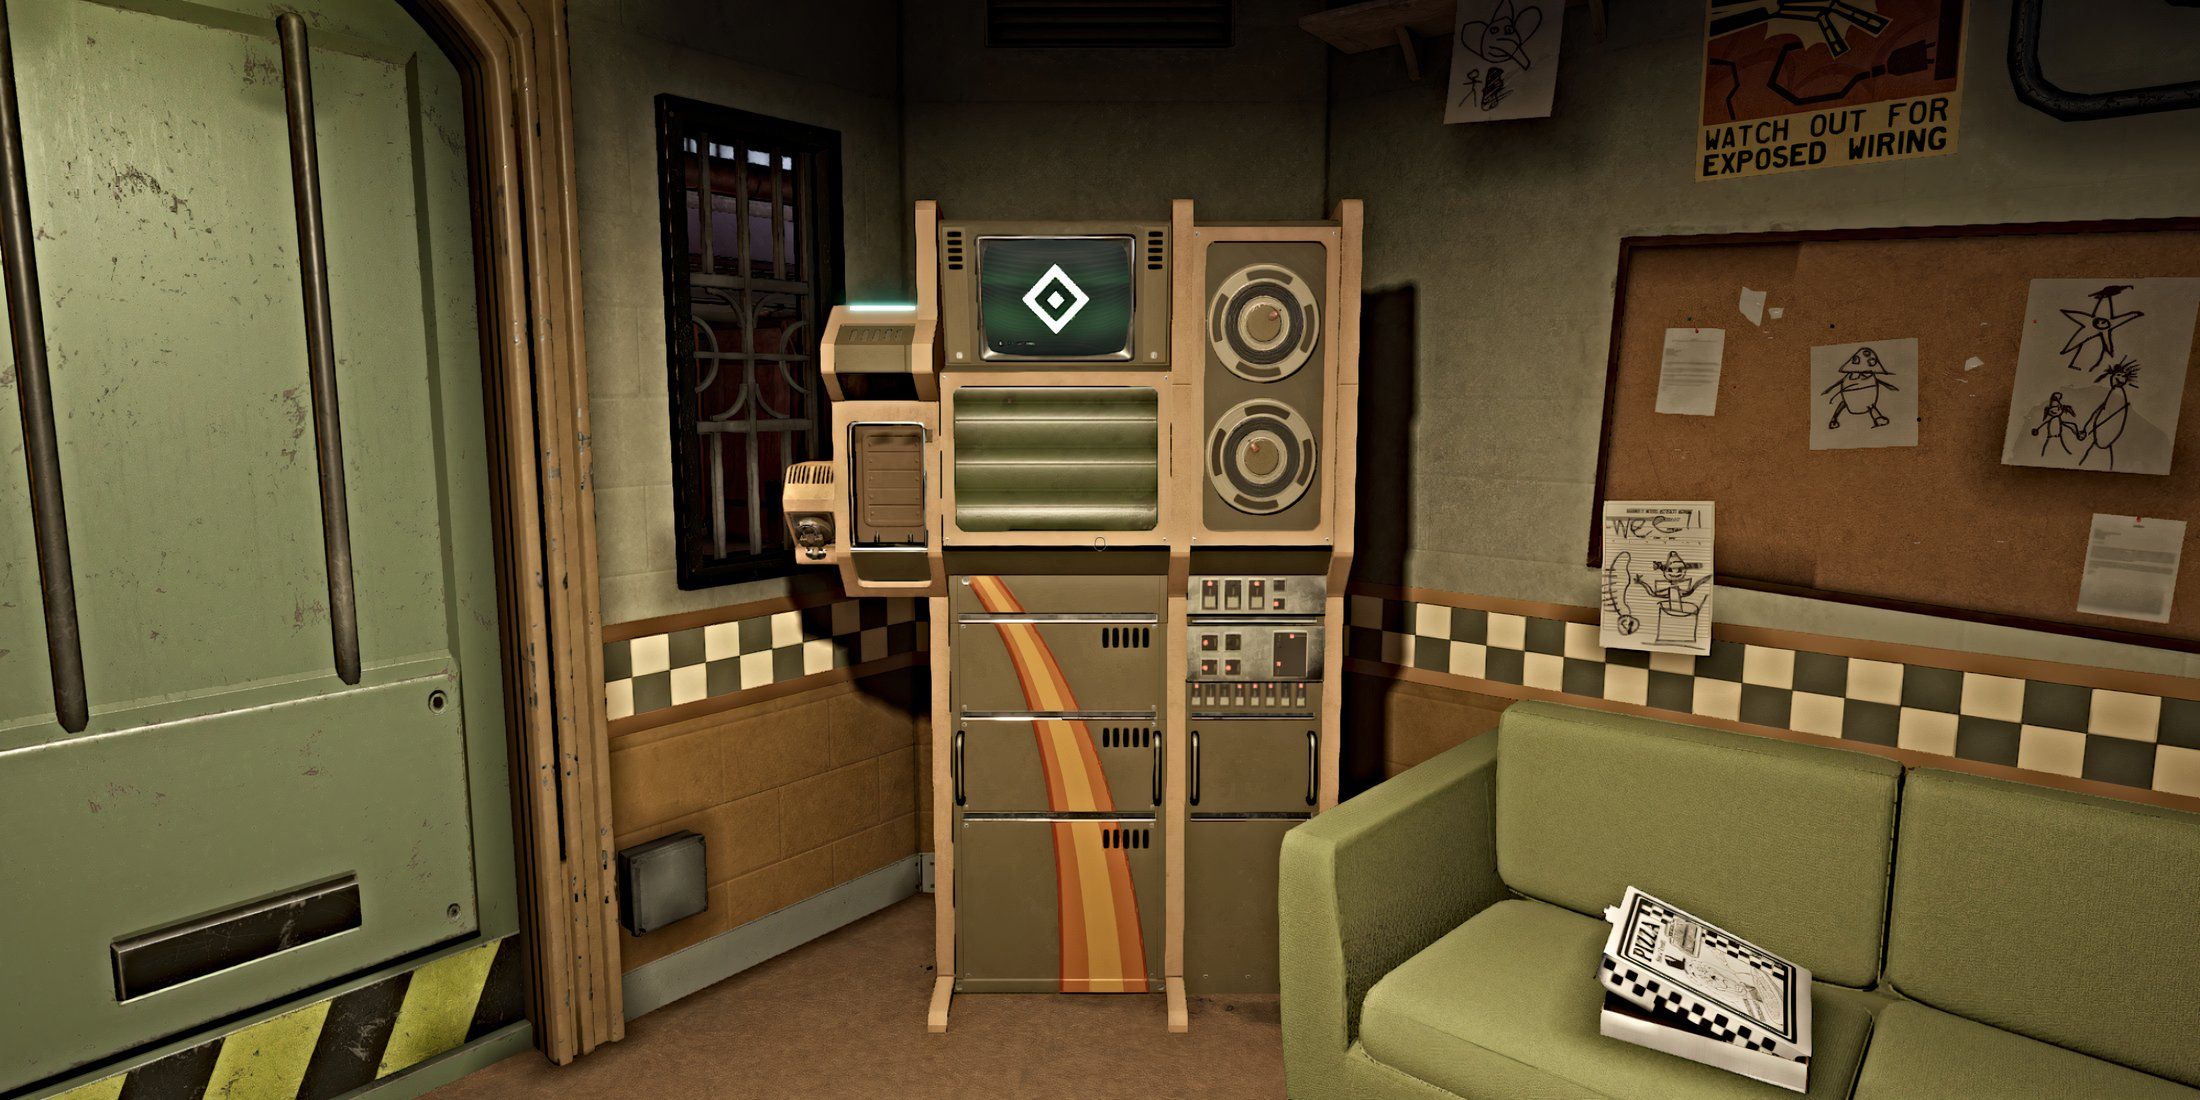
The Data Diver, provided at the game’s outset, enables you to access every part of Murray’s Costume Manor. By connecting it to specialized security doors throughout the facility, you gain access to new areas based on varying levels of clearance.
Clearance levels range from the most basic, aptly termed ‘Basic’, to the highest level known as ‘Executive’, each identified by distinct symbols. As you advance in the game, you can unlock these higher clearance levels through Clearance Upgrade Machines. These upgrades enhance your ability to explore more of the building. You can keep track of your unlocked clearance levels by observing the illuminated symbols on your Data Diver.
Additionally, utilizing different clearance levels allows you to access exclusive audio messages from the Mr Helper and Mrs Helper kiosks scattered throughout the game. Particularly, Executive-level messages provide deeper insights into the characters Edwin, Fiona, and their son David, making it worth the extra effort to find them.
How to Unlock All Data Diver Clearance Upgrades in FNAF Secret of the Mimic
Your journey with the Data Diver begins with the first clearance level, allowing you to pass through the initial door from the entrance area. From there, it’s your responsibility to locate the subsequent Clearance Upgrade machines to enhance your Data Diver’s authorization. These machines are cleverly integrated into the game’s storyline, ensuring they are easy to find.
The real challenge arises from the puzzles associated with each Clearance Upgrade Machine, which must be solved to complete each upgrade. The difficulty of these puzzles increases with each clearance level, but they remain manageable as they are tied to the story’s progression.
Each puzzle’s objective is to turn every active «bit» (the numbered tiles) to ‘1’ using the white cursor arrow that moves across the screen. While each puzzle presents different configurations of these binary digits, some bits may be corrupted, indicated by ‘X’s. You must solve them within two movements of the cursor (left to right on the first pass, and right to left on the second).
There are multiple ways to solve each puzzle, and you may discover your own unique solutions. Below are suggested strategies for tackling each puzzle.
Security Level Clearance Upgrade
- Location: Security Office
This is the first clearance upgrade you will encounter in the story, conveniently located inside the Security Office. To solve the associated puzzle, you will need to convert each of the nine bits from 0 to 1. For this, navigate the cursor down the middle track first (left to right), then up through the top track second (right to left). Once completed, the upgrade will register.
Repair Level Clearance Upgrade
- Location: Left hallway office on the second floor (security clearance needed)
The Repair clearance upgrade machine is situated in an office located down the left side hallway after you take the elevator up from the Main Hallway. To solve the puzzle for this upgrade, you can start on either the High Rack or Low Rack. Use the cursor to change a bit to ‘1’, then quickly move to the Middle Rack to flip the center bit to ‘0’, before returning to either the High or Low Rack to flip another bit to ‘1’. Essentially, you should form a V-formation.
On your return from right to left, replicate the V-shaped pattern to alter the remaining bits you didn’t encounter initially.
Creator Level Clearance Upgrade
- Location: Room prior to Roof Access
This upgrade machine is found in the room immediately past the balcony area of the Big Top Showroom, after resolving the hat puzzle to unlock the keypad door. You need this for accessing the Rooftop area, so it is essentially unavoidable.
Take note of a corrupted bit located in the puzzle’s center. To resolve it, commence by directing the cursor completely across the Low Track, flipping the first two bits to ‘0’ while turning the third bit to ‘1’. Returning from right to left, begin on the High Rack to flip the top right bit to ‘1’. Then, swiftly move back down to the Low Rack and revert the first two bits to ‘1’. This will finalize the puzzle.
Admin Level Clearance Upgrade
- Location: Room in the back left corner of the Doll Hospital (requires vent shaft access)
This upgrade machine is positioned in the back left corner of the Doll Hospital area, where Nurse Dollie roams. After reaching that quadrant, use the open vent shaft from the adjacent room to access the room containing the upgrade machine. There will also be a trash cube located in this room, so be sure to collect it.
The corresponding puzzle consists of two corrupted bits located on the High and Low Racks. To complete it, start at the High Rack. Set the top left bit to ‘1’, then quickly navigate to the Middle Rack to change the center bit to ‘0’. After that, go back up to the High Rack to flip the top right bit to ‘1’. Create a V-shaped movement.
For the return trip from right to left, begin at the Middle Rack to change the center right bit to ‘1’. Before the cursor completely exits the column, drop down to the Low Rack and turn the bottom right bit to ‘1’. Afterward, return to the Middle Rack to set the center bit to ‘1’, and finally move down to the Low Rack to set the bottom left bit to ‘1’. This will resolve the puzzle.
Executive Level Clearance Upgrade
- Location: Employee office on the second floor of the Admin Wing (accessible via a vent shaft)
<pThe final clearance upgrade machine can be found on the second floor of the Admin Wing (you'll need to evade Chica to access it). The entry to the room hosting the machine is blocked, so you will need to go into the neighboring space. Here, you will discover an open vent shaft illuminated by a projector machine, which leads directly to the machine.
To solve this puzzle, start at the Middle Rack and flip the center-left bit to ‘0’. Quickly move to the High Rack to turn the second and third bits to ‘1’.
For the pass back from right to left, flipping numerous bits requires quick reflexes and possibly some practice. Start at the Middle Rack to change the center right bit to ‘1’. Before the cursor completely exits, quickly transition down to the Low Rack to flip the bottom right bit to ‘1’. Next, turn the second bit on the Low Rack to ‘1’. Quickly return to the Middle Rack to flip the center left bit to ‘1’, before flipping the top left bit to ‘1’ ahead of exiting the column.
This concludes the puzzle and earns you the ‘Executive Permissions’ trophy/achievement for acquiring the ultimate clearance upgrade in the game.